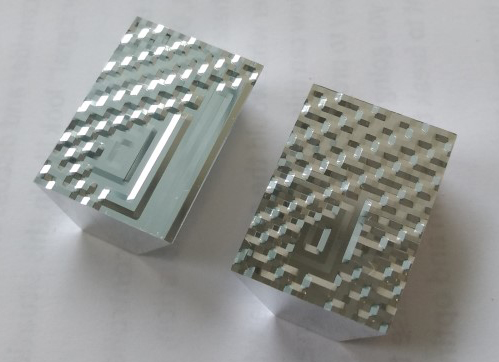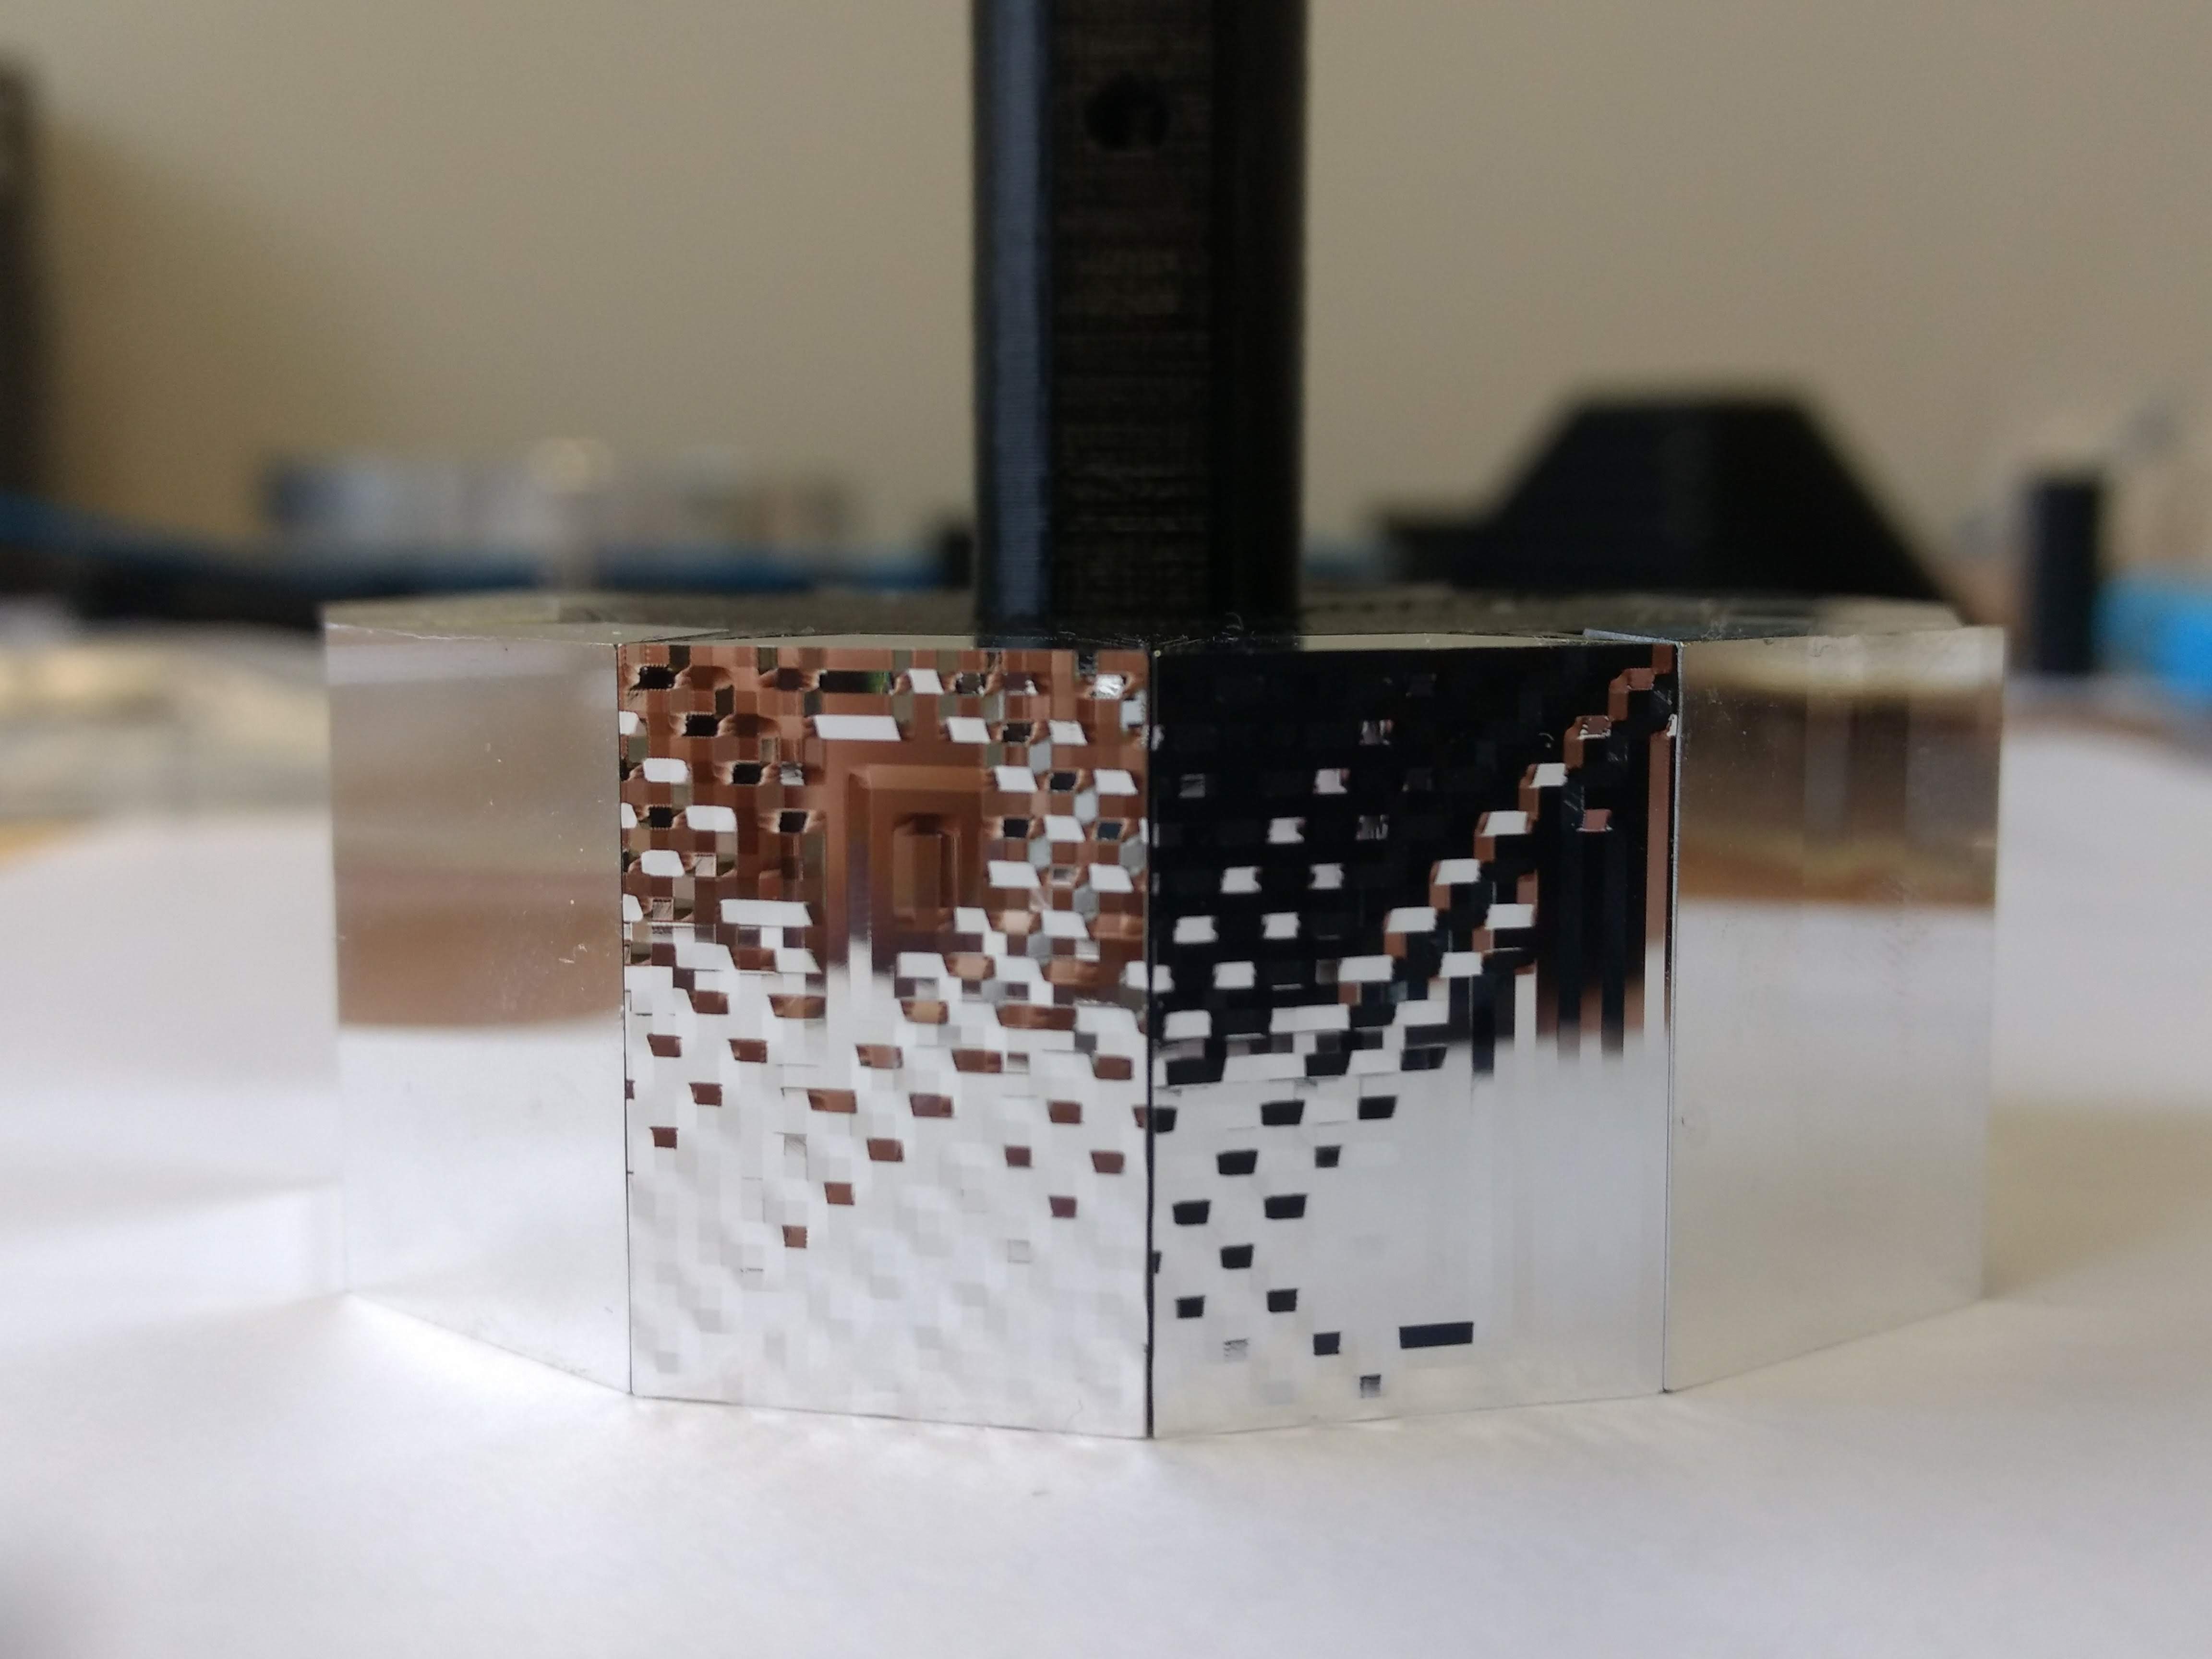
After realising that I needed many more than 6 sides per polygon and that each facet would take a minimum of 12 hours to cut on the nano-lathe, I had to rethink some of my fabrication strategy and discuss with Geoff how we might to this.
At the beginning of the project we had discussed cutting a single polygon with multiple facets. But there were problems to overcome with this approach. It would require many days cutting on the nano-lathe and there was also the additional challenge of how to fabricate the blank in preparation for the nano-cuts. If we made it on another machine, it would be very difficult to position the part and the tool on the nano-lathe to match the exact profile the blank’s facets.
We therefore came up with a compromise – to make a smaller polygon with 36 facets each being 10mm high and 10.5mm wide. A blank this size can be cut in the nano-lathe and therefore provide an exact reference for every facet. This will need a few days of cutting, but the time will be significantly shortened due to its smaller size. It will also require a short focal length macro lens to condense the image onto the mirror facet and a lens of greater magnification for the moving image be sufficiently magnified.
Neil made us the blank cylinder to be cut into the polygon form. Our task now is to work out the profile for each of the facet cuts.
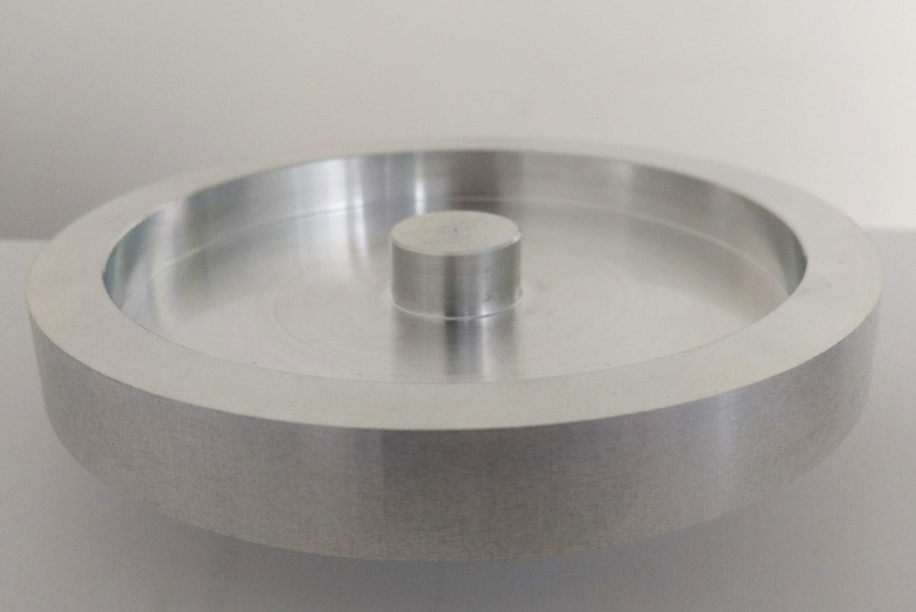
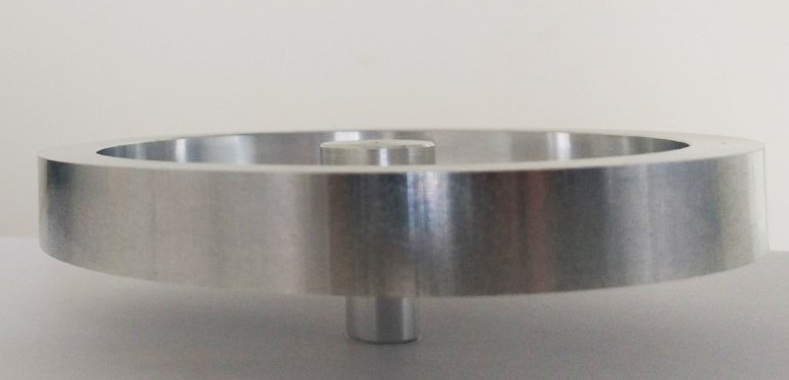
Testing new cuts for the 36 frames – changing from lines to pixels
Based on an earlier part that Geoff had cut on the lathe, I wanted to test the idea of using ‘pixels’ instead of lines on the mirror’s surface. I created a depth map in Photoshop, using 1mm square pixels, with each colour designated a different depth of cut.
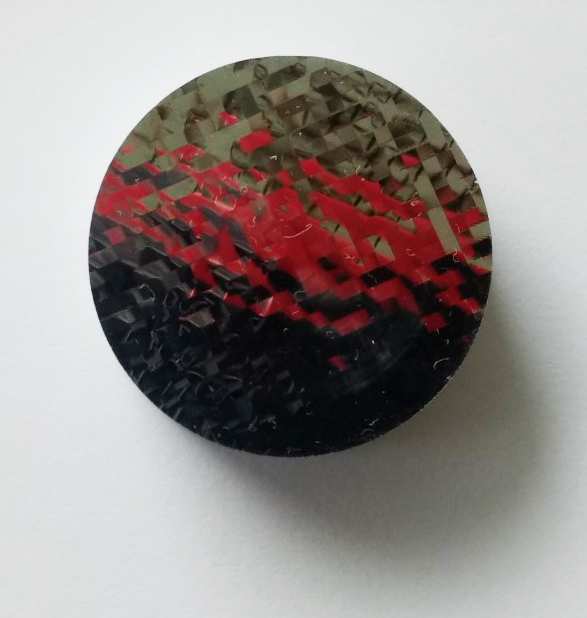
Geoff then translated this map into Python and I ran the script, exporting it out as an NC file to generate the g-code for the lathe. The images below show the transition from photoshop file, to the visualised python script, to the cut mirror facet. Next comes testing these facets with a matching translucent image!

