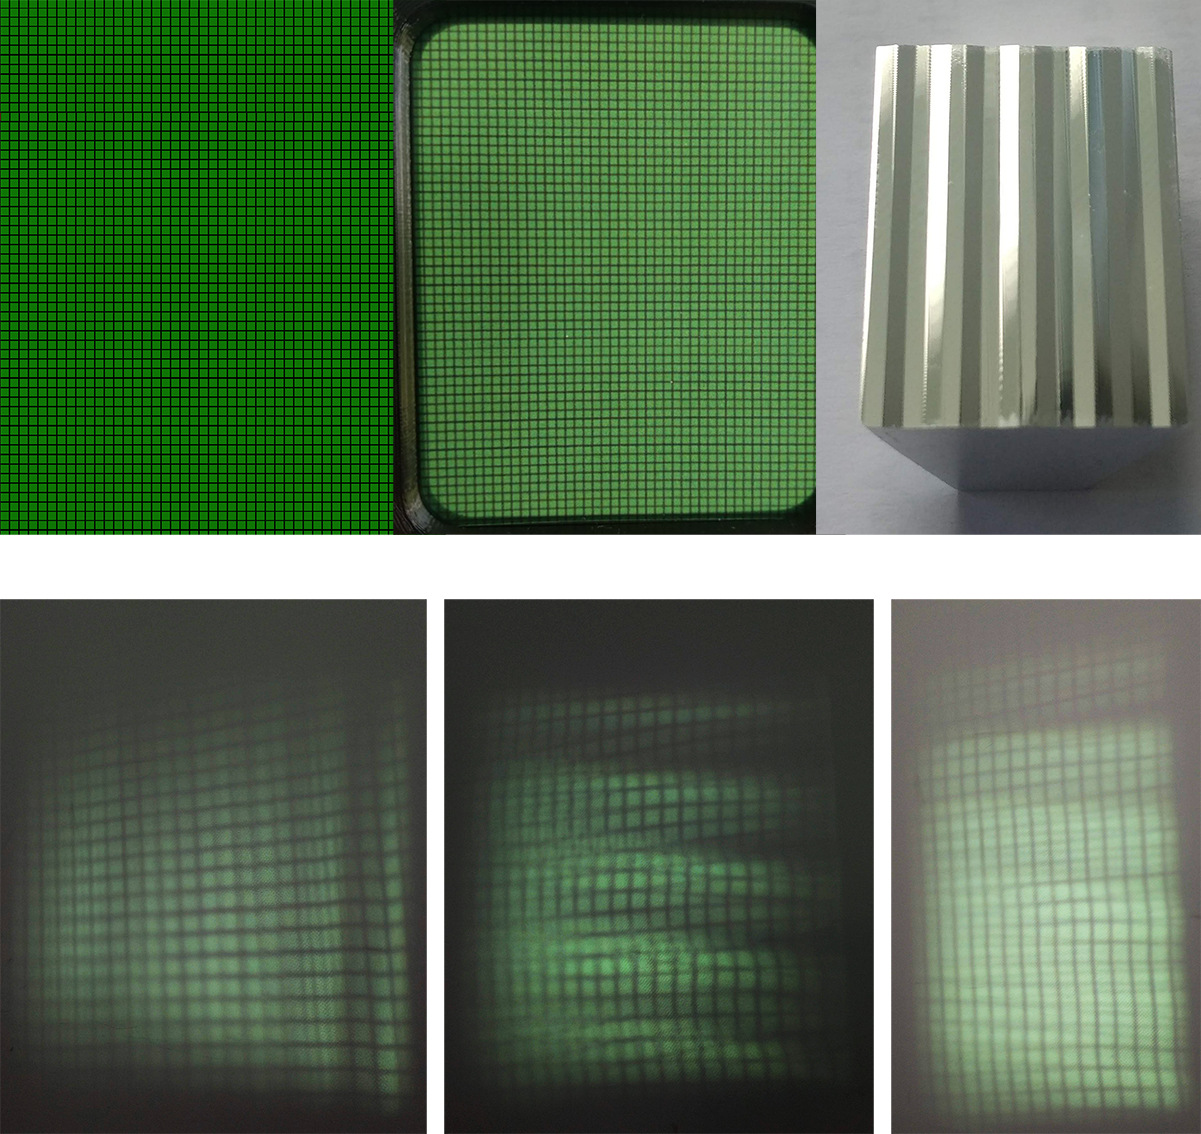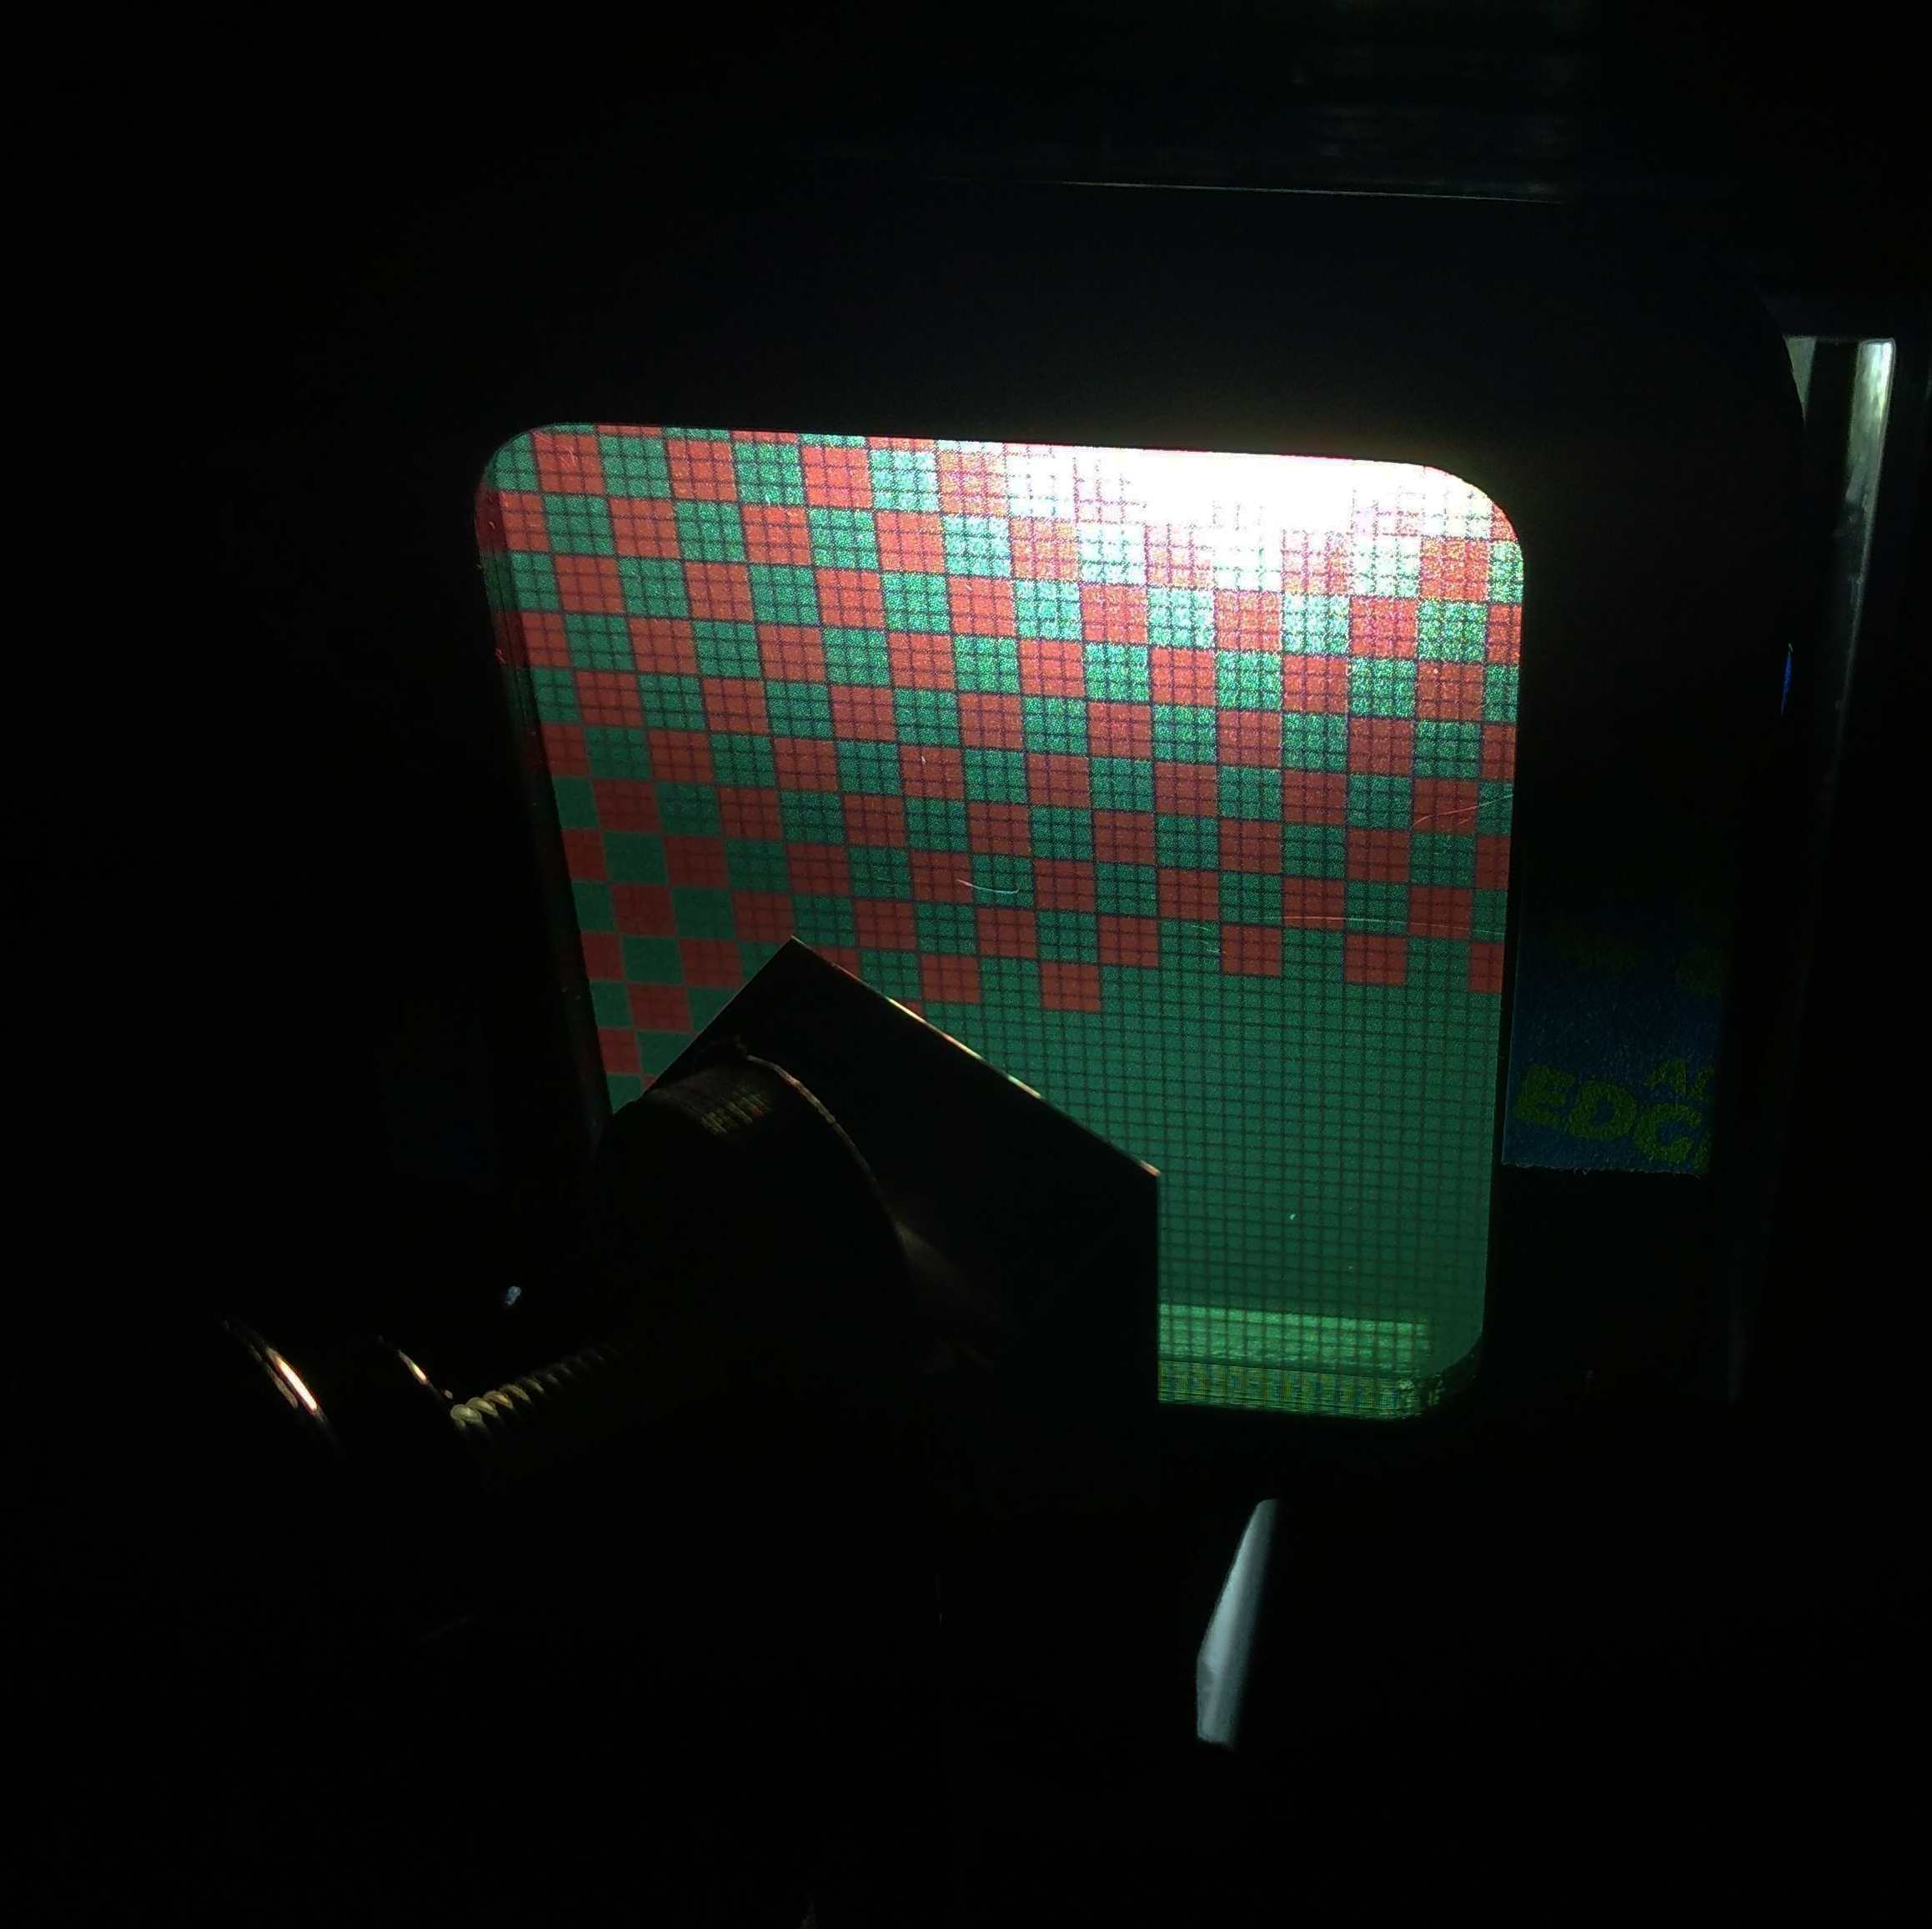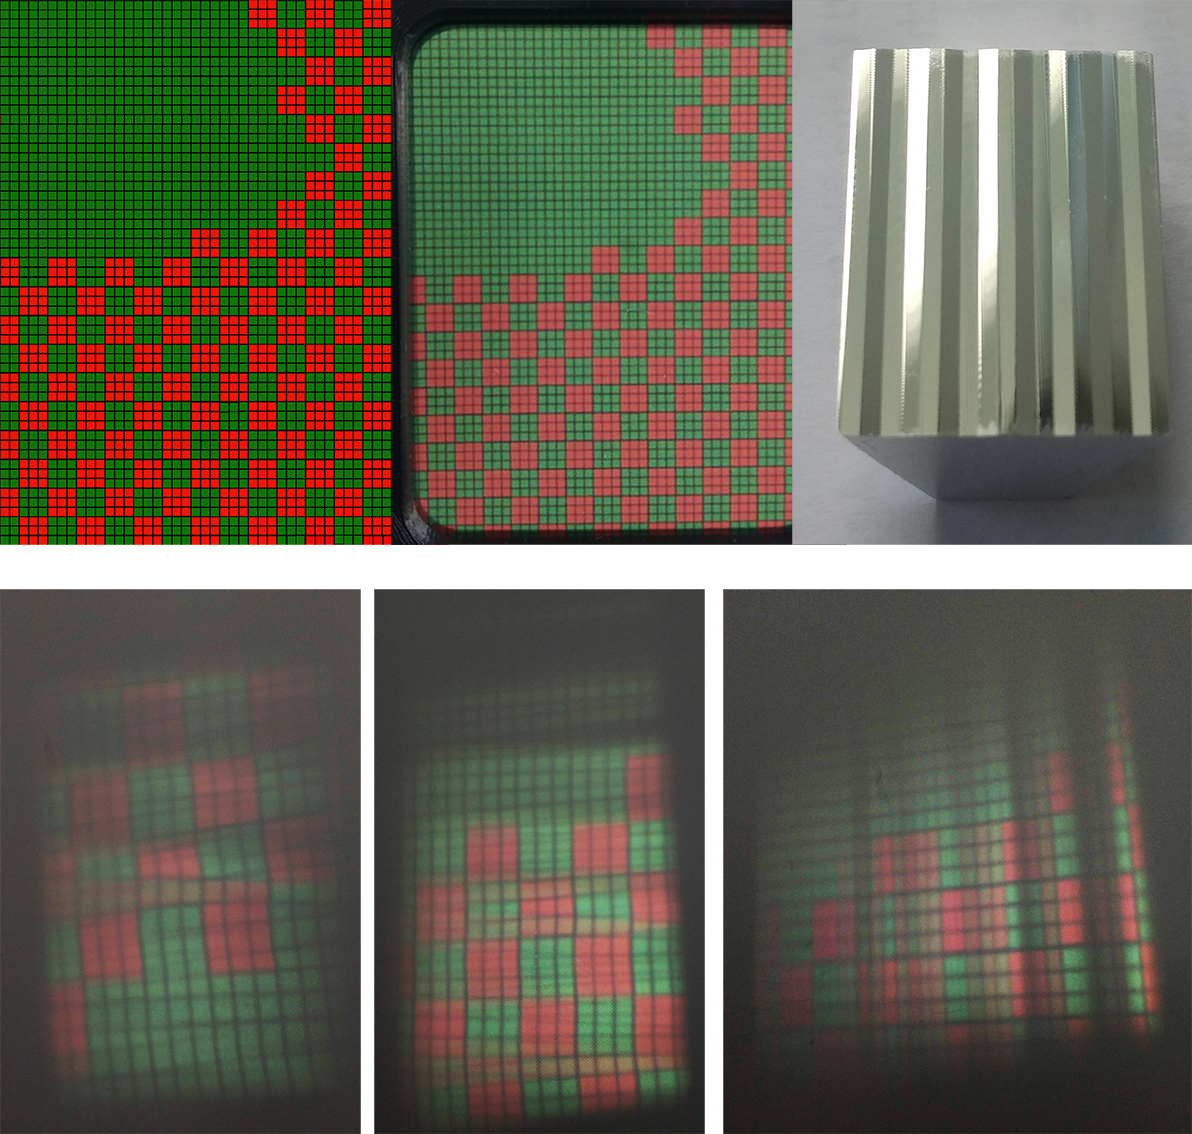
This week I also began testing the mirrors using a series of new images that I made in photoshop. I printed these images onto thin transparent sheet and placed them into my optical system using slidable holders, so I can adjust their position relative to the mirror and lenses.

At first I was using multiple colours, then 2 colours (red and green, see the images directly above and below) and then I paired it back to a single colour (see the image at the top of this post) and realised that this was giving me much more information regarding how each mirror was refracting the light in different ways (bending the image). Even by simply rotating the mirror plane 90 degrees, I could generate a different projected image.

As I cut more mirror facets I will test each each mirror for tits resulting projecting image. These individual image frames will make up the sequence for the moving image. I am also beginning to test different images, to see how each new image is ‘refracted’ using the cut mirrors.